AutoZone is one of the biggest automotive parts sellers in the USA. They have approx 6000 outlets across the country.
Instead of DIFM (Do-It-For-Me), they offer DIY (Do-It-For-Yourself) to save the mechanic cost. However, they also offer free OBD2 scanners in their outlets.
In addition, AutoZone also offers a wide range of auto parts and accessories. You can find anything from tires to batteries, air filters to mufflers, spark plugs to shocks.
You can visit your nearest AutoZone store and borrow an OBD scanner. Now, you can scan the trouble codes in your car and buy the required parts from the AutoZone DIY garage.
The AutoZone DIY garage will be able to tell you which part you need to fix your car. The technician will also help you to understand what is wrong with your car.
This is a good way to avoid spending a lot of money on unnecessary repairs. It’s better to know what’s wrong with your car so that you can fix it yourself.
But, you must know how to use the AutoZone OBD2 scanner to scan your vehicle and find the actual problems in your car.
In this article, I’ll guide you on how to use the AutoZone scanner for free and detect the actual reason for Check Engine Light.
What Scanner Does AutoZone Use?
If you’re going to use a free code reader by AutoZone, you should know which scanner AutoZone uses.
AutoZone uses Fix Finder Tool made by Innova. It’s an easy-to-use automatic diagnostic car code reader tool that allows exporting data into the computer.
It has a USB port that AutoZoner connects with its Z-net terminal to print the report.
How To Use AutoZone OBD2 Scanner?

So, your car MIL (Malfunction Indicator Lamp) or Check Engine Light is glowing. There could be some issue in your car, and you can detect it with an OBD2 scanner.
You can borrow an OBD scanner from AutoZone and scan your car. But, if you want a private scanner for your car, then buy a FIXD OBD2 scanner. It barely costs you $60 and provides in-depth details of DTCs.
As of now, you can follow these steps to diagnose your DTCs with an AutoZone scanner:
1. Go to AutoZone
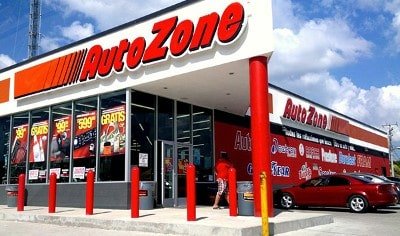
Visit your nearest AutoZone center and park your car safely. Now turn off the ignition and go inside the shop.
2. Ask to Borrow OBD Reader

Go to the counter and ask to borrow an OBD reader. The AutoZoner will provide it to you and guide you through the basic instructions.
3. Locate Your DLC

Data Link Connector aka DLC is a 16-pin connector port provided below the driver’s dashboard. It’s also known as the OBD2 port that is connected to your vehicle’s computer.
4. Turn ON Ignition
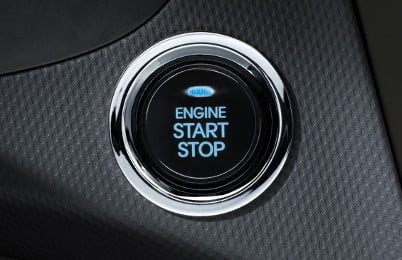
If your car is an old model, insert the key in the ignition port and turn it ON. DO NOT start the engine, just turn ON the ignition of the car.
For the latest models and keyless vehicles, press the START button twice. DO NOT press the brake paddle, otherwise, your engine will start.
5. Insert OBD Reader
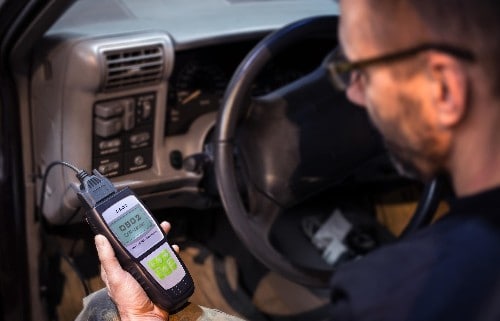
Wait for 5 seconds after turning ON the ignition. Now, insert your AutoZone obd2 scanner free into the DLC or OBD2 port.
6. Read DTCs

If your AutoZone OBD reader is powered on, it’ll automatically start reading the codes.
You’ll get a message on the reader screen “Reading“. Wait until it finishes the reading codes, and a message will appear “Done” on the screen.
7. Unplug the OBD2 Scanner

Once the scanner finishes reading your car computer DTCs (Diagnostic Trouble Codes) and the Done message appears, remove the scanner from DLC.
8. Provide the Reader to AutoZoner
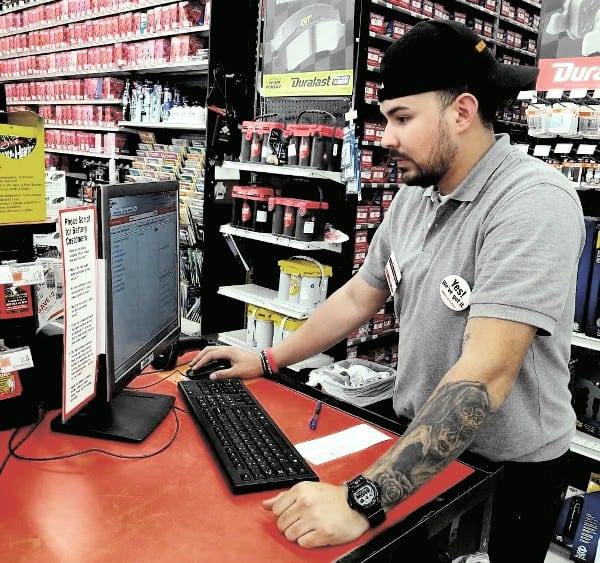
Go inside the AutoZone DIY garage and provide the OBD reader to AutoZoner. Now, they’ll tell you the exact problem detected in your car and provide the possible solution along with a printed report to you.
Conclusion
AutoZone DIY garage provides a free scan tool. Anyone can visit the nearest AutoZone outlet and ask for a car OBD2 code reader.
The AutoZoner will guide you to a possible solution and estimated repair cost idea. You can buy the parts from AutoZone and fix the issue yourself.

